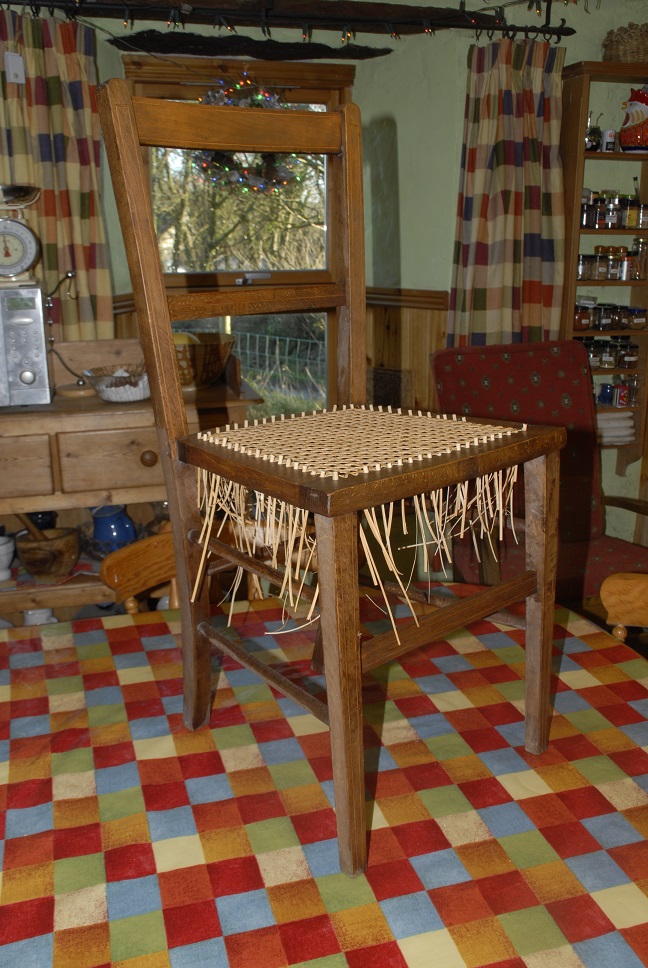
This little chair is probably a hundred years old or more. It’s plain enough, but beautifully made, with legs shaping delicately towards the floor, and a tiny inlay strip on all the polished wood faces, which you will better see in later close-ups. The caning had been ripped out when I found it for sale in a charity shop for 5 euro. It came complete with the cane, purchased as a project, only for the owner to become too ill to finish. In my time as an upholsterer, I never did anything this simple. The chairs I caned in the past were usually complex Edwardian affairs with shaped backs and side panels, which cost a lot to restore, and probably ended up as ornaments.
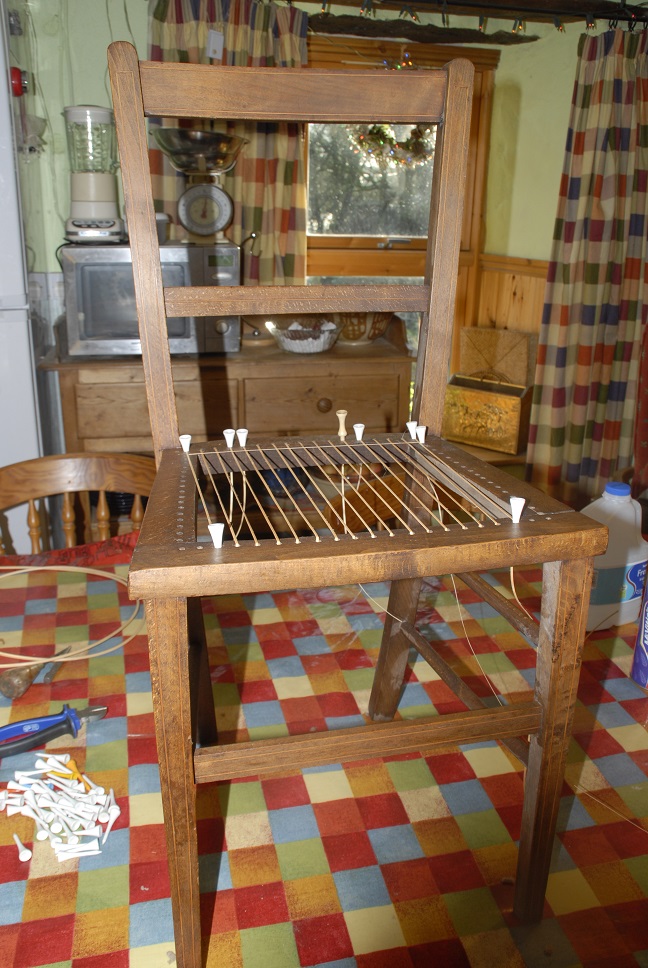
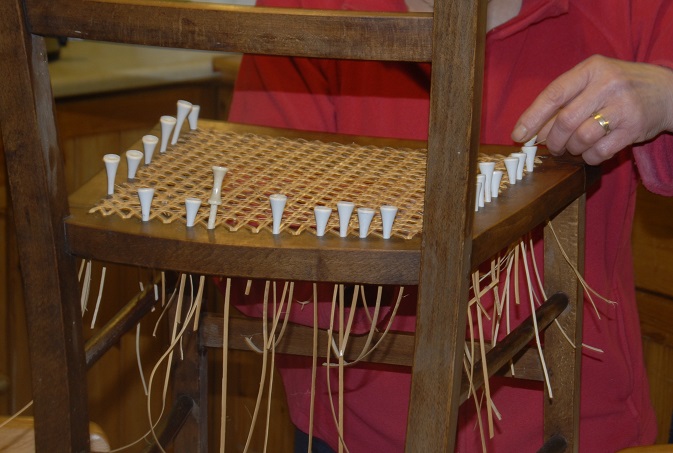
I cleaned down the wood, and cleared out any debris from the drilled holes in the frame, and worked a first line of cane, front to back. This is the best use I can think of for golf tees. I’ve never understood the passion for trying to get a ball into a little hole in the ground by hitting it with a stick. Before starting, the cane is given a brief soak for a couple of minutes, making it pliable, but is not immersed long enough to damage the fibres.
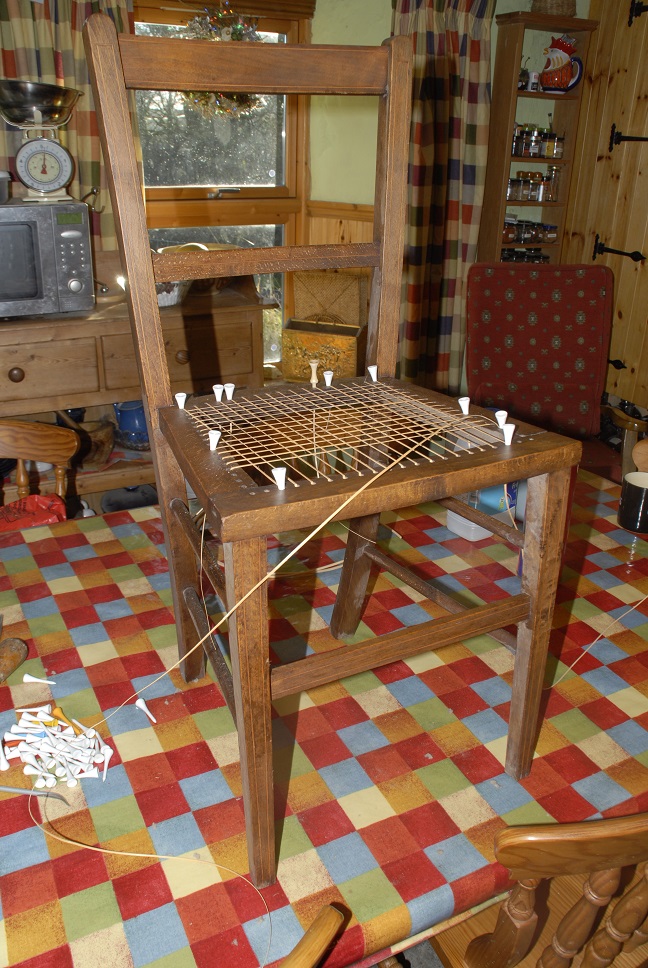
I then worked lines at 90 degrees. weaving through the first row. The cane is ‘split’, so care has to be taken to get the shiny, curved side uppermost. I saw an ornate chair in an antique shop recently in which there was one cane the wrong way up, and it absolutely ruined the whole effect. But that was not all that was wrong, as I’ll explain later.

The cane is woven down and back up through subsequent holes to do two or three rows without a break, depending on the length of the cane, but where the cane ends, and a new piece is inserted, a golf tee is used to temporarily secure the ends.

Now, I have completed two rows either way, two canes into each drilled hole, creating the ‘double’ hexagonal pattern which is most often seen. At this stage the crossed canes look decidedly straggly.
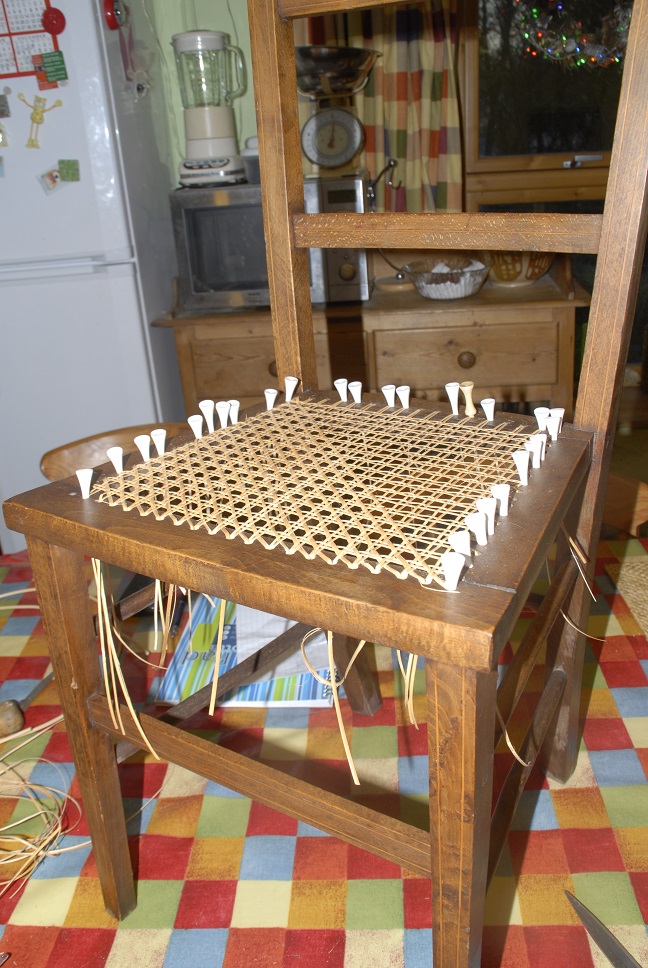
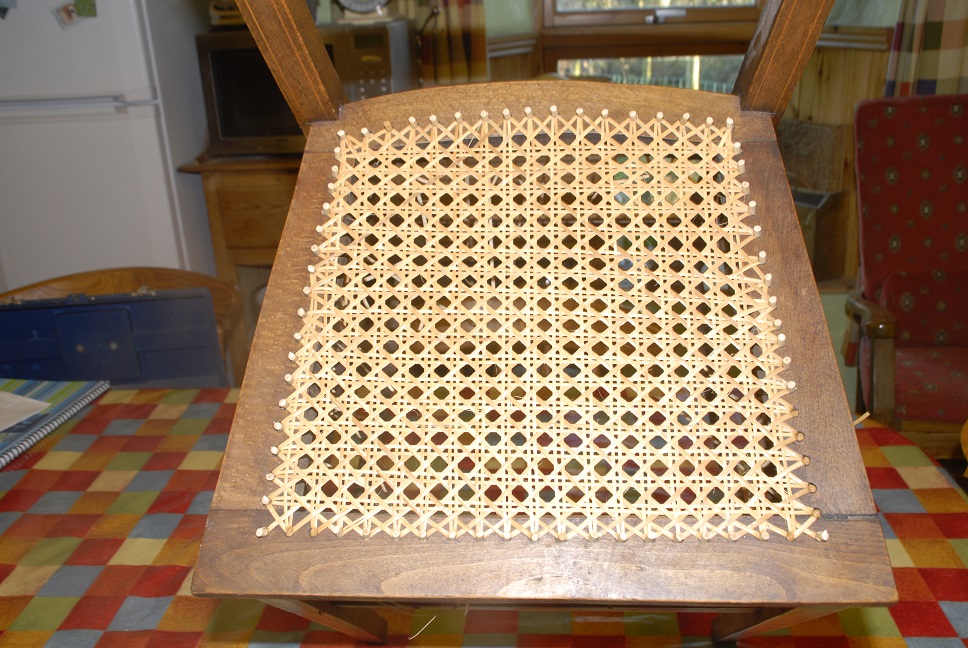
Now the magic happens. The first row of diagonals is simply woven in and out of the large holes made in the original warp and weft, which pulls the original rows tight. This is where the amateur caner made his big mistake. The concept of ‘weave’ usually means to go ‘over’ where the last thread went ‘under’, but this diagonal weave does the opposite, so that the canes slide ‘flatly’ between the original weaves. It looks ‘woven’, but presents a more even finish. When the cross thread is done as with yarn weaving, the result is a lumpy cane seat which strains one cane to another at the intersections, creating points of stress and eventual breakage. A single cane may be broken quite easily, but the completed construction is strong enough to hold the weight of an adult human.
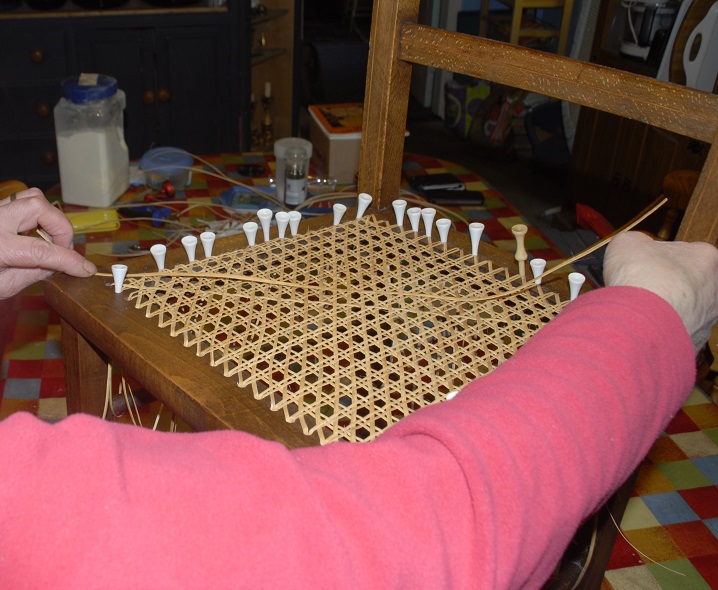
There are only two cross weaves, being diagonal opposites. In the above image I’ve completed one, and I’m about to begin the final one.
Here, I’ve finished the caning, and I’m taking out the golf tees, replacing them with cut lengths of whole cane the same diameter as the drilled hole.
Above, the seat is finished, bar hammering the plugs flush to the wood, and cutting off the hanging cane-ends underneath with a sharp knife.
It would be fairly usual to put a strip all the way around the outside of the cane seat before putting in the final plugs, to neaten the whole seat. This cane would be of a larger diameter, tougher than that used to weave the seat, but I didn’t have any. The person who started this project probably didn’t know to buy it.
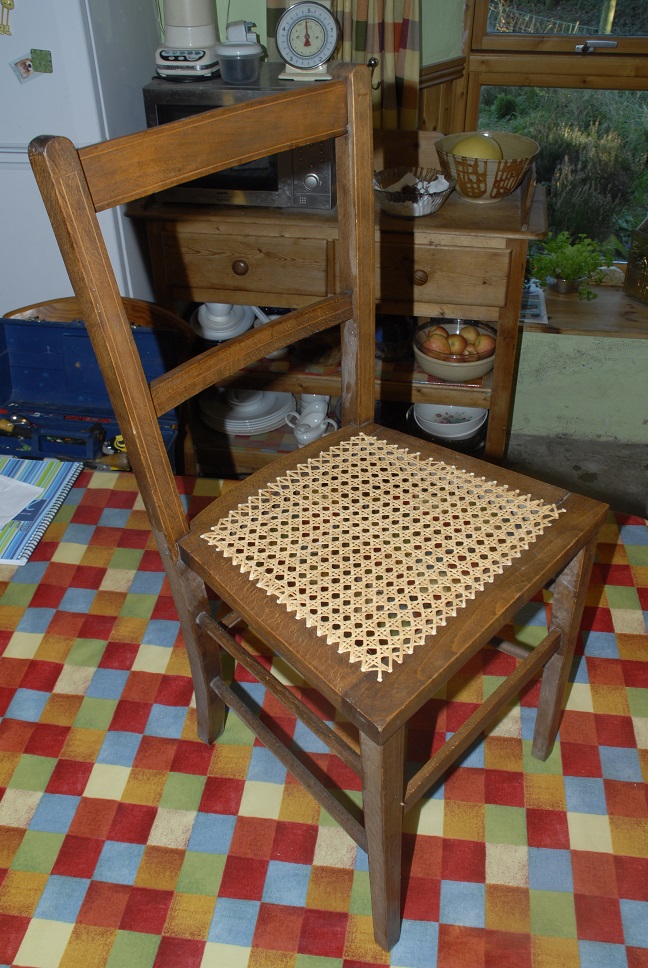
The finished chair is fine, however, and probably usable for another hundred years. Modern cane seats are usually cut from a prefabricated cane-weave cloth and tacked into place. They would not have the strength or durability of a traditionally woven cane seat.