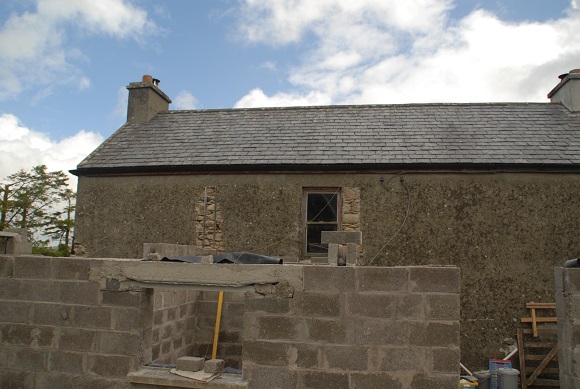
A little reminder of what the back of the house was like originally. You can see our ‘kitchen’ on the outside of the wall, with its single tap direct from the well. This served for nearly two years, while we were living in the bus, and doing essential building works.
It would be usual in these old buildings to turn the smaller middle bedroom into a bathroom, but I wanted that to be a study, which meant we had to wait a further two years before we had a working bathroom. This was, in fact, a fairly sensible decision for the long term as it means the wet rooms – bathroom, kitchen, and utility – will all be at ground level in the extension. It also might prove to be useful in the long term, if/when getting upstairs becomes a problem!
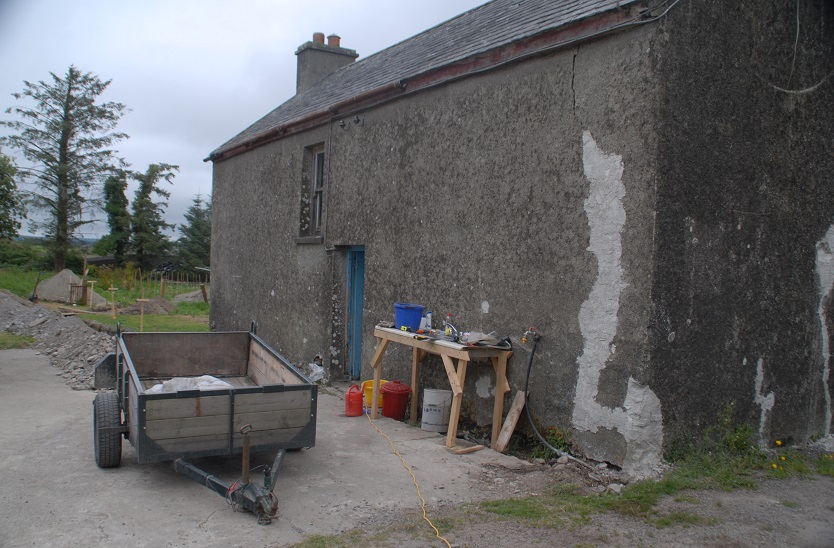
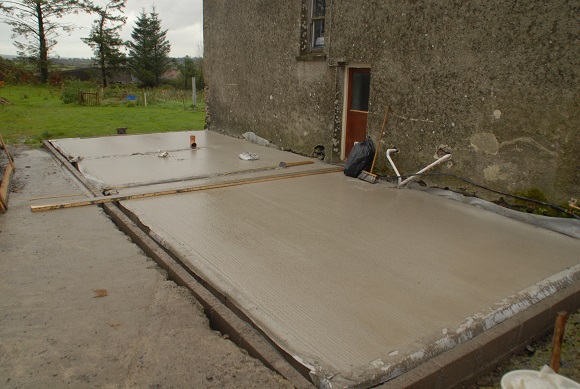
In a previous storyboard, I showed how we dug the septic tank, led drains through the garden (which you can see in the background of the first image), and prepared the groundwork for the extension. Once that was done, we lay insulation panels on the sand, and arranged for ready-mix concrete.

The concrete is tamped down, with the help of a friend. We did, of course, end up with some little pawprints near the back door as one cat chose not to use the available plank of wood.
The building work begins in earnest as winter approaches. As we are living on a shoestring, we decide to insulate the double-skinned wall by injection at a later date.
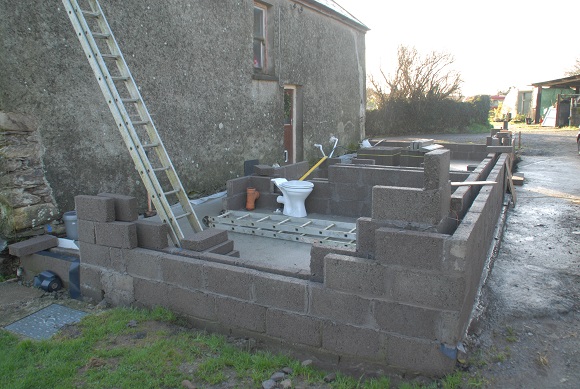
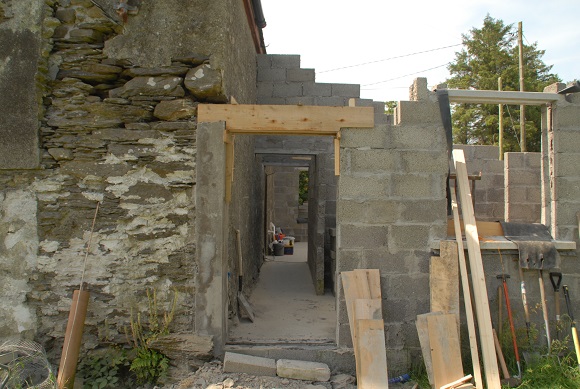
As the building goes up, we buy reinforced lintels and sills for door and window openings.

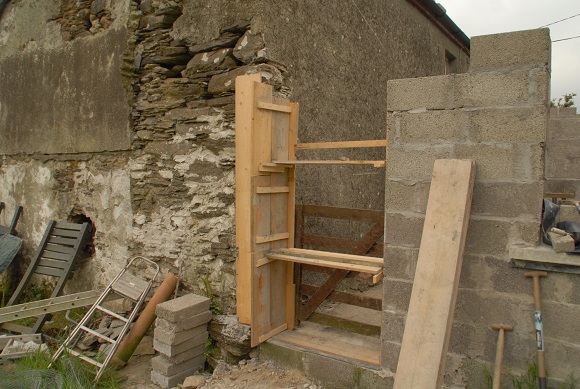
The garden door will go straight onto the old building, however, and we decide to reinforce that corner.
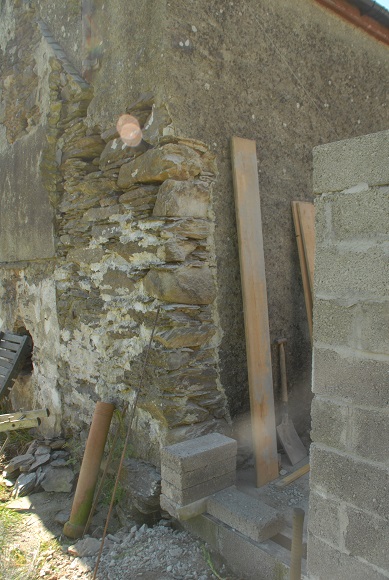
For this we build a wooden ‘form’ and pack it with concrete, and do the same for the lintel, adding rebar (reinforced metal bars) in the latter, for strength.
Where the blockwork joins onto the old building, the render is stripped, and metal struts are used to tie the new blockwork to the old building.
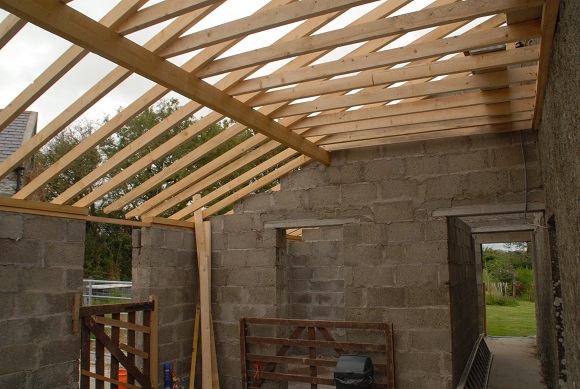
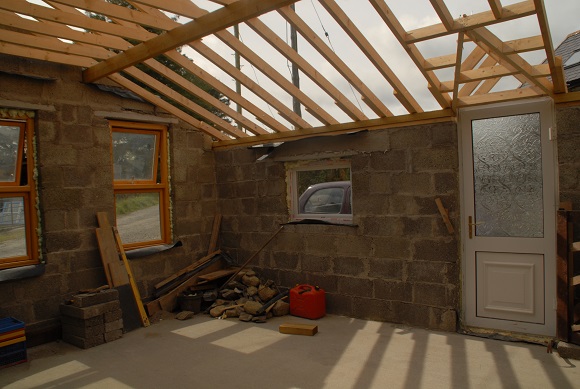
The roof goes on next, and is tied to the original roof timbers.
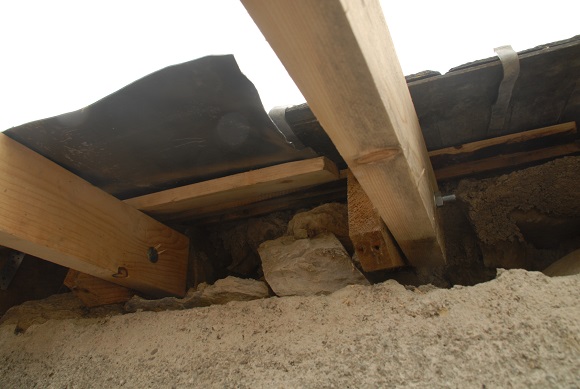
Then cross beams are added, tied to the original wall.
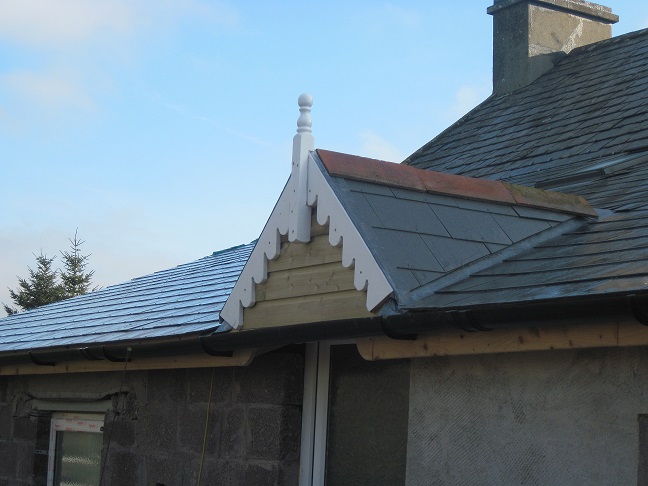
We build a small gable above the door. A nightmare of angles!
Lead is used to seal the gap between the old and new roof.

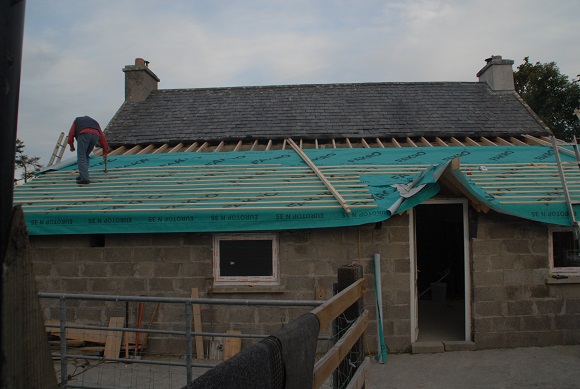
Roofing felt is laid, and battens screwed in place. Once this is complete, the building will be waterproof.
The roof is then tiled. We chose to use modern tiles rather than slate ones. Slate is expensive, but also enormously heavy, as we found when we tiled the little building. I made the gable ends out of wood from a broken pine bed… It might not stand the test of time, but will suffice for a few years.
The finished extension, now partly rendered. It remains to turn the inside into bathroom, utility, and kitchen, in that order. At this time, the main room in the house is kitchen/diner, but will one day become a living area. Having lived without facilities for so many years makes the installation of a bathroom a momentous event!
